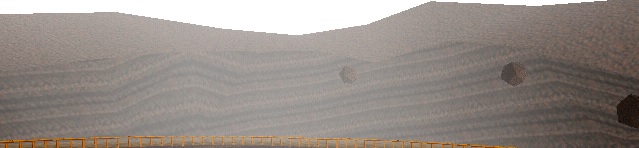
Mmmmm, the land of chocolate. There's something really eerie about Choco Mountain. The general foggy atmosphere reminds me a lot of Silent Hill, which isn't
exactly a comparison that sets my mind at ease. This is one of those tracks that you want to visit and put in your time, and then immediately leave, before
sirens wail and someone with a pyramid shaped head and sword appears.
 This must be where Willy Wonka got all his chocolate You start on a downward slope, and also with a shroom. It's a bit like standing at the top of a hill on a skateboard, and having a train come along behind you to push you forward, or maybe a gentle breeze. Try to imagine something in between a train and a gentle breeze and you've just about got it. A lot of people will tell you that the fastest shroomspot on the course is this first corner, so starting off with a shroom makes this one of the handiest lap 1 shroomstarts in the game. However, there are quite a number of other candidates for best shroomspot. On our journey we will examine each in turn, and weigh up the cost and benefit of each one. One of these is on the 2nd corner, but we're not there quite yet. So firstly, immediately jump into an MT around the first corner. The angle you release the MT at when you're around the corner will affect how much you need to adjust for the 2nd corner. Usually a short sharp turn to the left will do it. It's here that you might want to use a shroom (if going for a fastest lap). Lap 1 isn't a completely bad choice for lap attempts, but it's still faster to wait for lap 2 or 3. When you hit a shroom around this corner just right, it's the closest feeling to perfection you can get in the game. If only this spot was a little bit faster, it would be almost worth using a shroom here on every lap. You can get obscenely close to this bend with a shroom, which makes the passage without a shroom all the more awkward feeling. To do it without a shroom, you must first perform a quick MT almost before the corner begins, then glide a little, before hopping around the bend. Timed hops are required to avoid smashing into the wall. When you're fully around the bend, jump into a right-facing SSMT immediately and release it aiming for the left side of the tunnel wall. The tunnel itself looks like a face, with two eyes hovering mysteriously above the mouth of the tunnel. This adds to the creepy feel of the track. 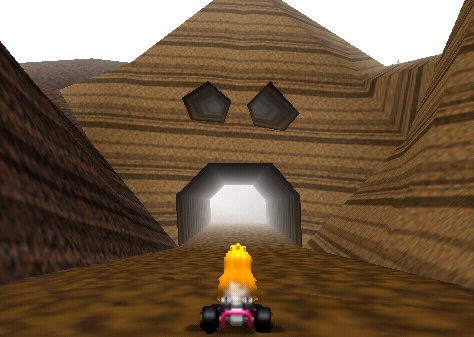 Welcome to Silent Hill Now you can do one of 2 things here. You can either get a left-facing SSMT just as you're entering the tunnel, or you can keep driving in a straight line til the end of the tunnel. Because of the downward slope of the straight, the difference between these strats isn't as big as it would normally be, but if you don't do an SSMT here, you'll let down your ancestors, and nobody wants that. If you're intending to shroom on this next corner though, leaving out the SSMT might be an option. Then again, if you're intending to shroom on this next corner, you've lost already. This, in my opinion, is at most the 4th best spot to shroom, which only really makes it a contender on lap 1. It's also a very dangerous shroomspot. Getting close to the side here can grind your kart to an annoying halt. It's a difficult and cruel shroomspot, but it's only very slightly slower than when corner 2 is done well. One of its appeals of course, is that it's more straightforward to shroom here than to MT here. A quick MT must be performed at the base, then glide a little in a straight line up the hill, and then complete a 2nd MT at the top. It's easier written down than performed, and it's still very dangerous to get close to the side. Just when you think you're free of the corner, it will pull you back. The next part is something that you will feel rushed doing. Someone is behind you in a line at the store, and you're counting out exact change to the cashier. Get a move on! Between here and the next proper corner you need to do a quick SSMT. There's a slight part of the mountain jutting out from the right, and it's this little part that can help you to control your SSMT slide. So feel free to slide into a left-facing SSMT up against this bit. The smallest of glides after this part is required before jumping into a tight MT around the next bend. There's nothing difficult about this MT except that you have to do it very quickly off the back of the previous SSMT. 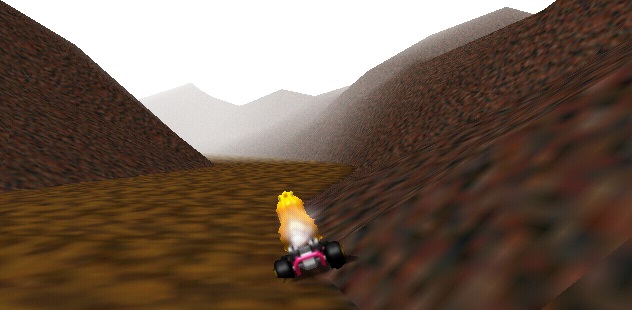 This piece of the mountain is more like slanted road Next comes the easiest to consistently perform difficult-sounding SSMT in the game. There's a hill ahead. Some shortcutters like to use it to help them cut off a chunk of the track. You'll use it for a different reason. If there was no hill here at all, the SSMTs along this straight would be more evenly spaced out. Because there is though, most people drive straight over this hill and then start the first of their two SSMTs after they land. This makes the 2 SSMTs before the next bend have less glide time than is optimal for the straight. The key to solving this problem is to start the first SSMT *before* the hill. That's right! Jump into a left-facing slide just before the hill and finish the SSMT when you land. The only thing that it can be compared to in the game is the KTB tunnel MT, but this one has a much greater margin for error. Don't be afraid to add this to your runs. Alternatively you can try a pre-jump and maybe tran the hill, but that is too inconsistent to be very helpful. 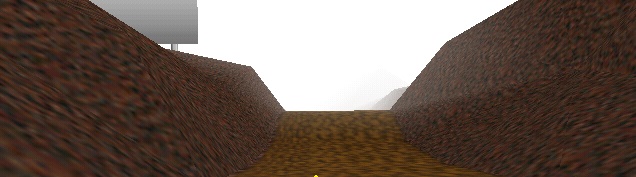 Do anything except drive straight over it Once you've completed this SSMT, glide for a nice amount of time. From the right, large pieces of chocolate in the shape of boulders, are crashing down, threatening to squash you. When you reach a certain speed on this track, you never have to worry about this happening again, except maybe on lap attempts where you've had a strangely long set-up lap. So this guide will just tell you to ignore them. If you're genuinely having problems getting squashed though, there is no real advice but to get faster. The next MT is all about timing. You want to leave it til the last possible moment, perform the MT, release, and then hop hop hop hop around this bend as close as you dare to the fence without touching it. 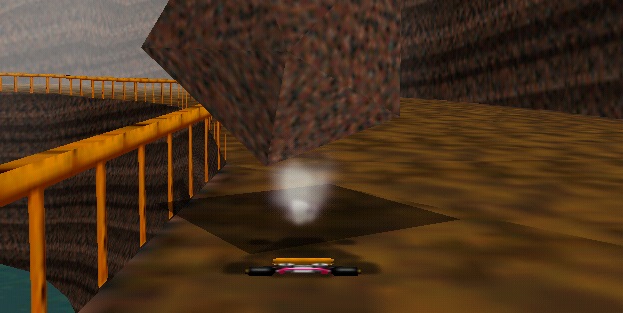 This isn't how my day was supposed to go It's here that another opportunity for a shroom arises. This is one of my favourite spots, because it went unsung for so long in the game. Shroomspots need some music in their lives. The key to this shroomspot is to do something that you very rarely do anywhere else, and that's to shroom *before* you slide. Keep hopping until you're pointed straight at where the next corner turns to the right, and instantly fire the shroom. You're travelling so slowly at this point, because of all the hopping, that the shroomspeed gain more than makes up for the slight loss you normally get by not sliding before the shroom. The instant you shroom though, you should hop into that right-facing slide, and hug the turn, releasing the MT just before the shroom wears off. This is definitely one of the spots I'd use on a lap attempt, and I've had good runs using this spot on all 3 laps. It's certainly one of the easiest ones not to mess up, and late enough in the lap that if you've had a bad start you can still swap to lap attempts, because you haven't used any shrooms yet. If you don't use a shroom here though, the strategy is to perform an MT and an SSMT in this spot instead. Both must be done relatively quickly. 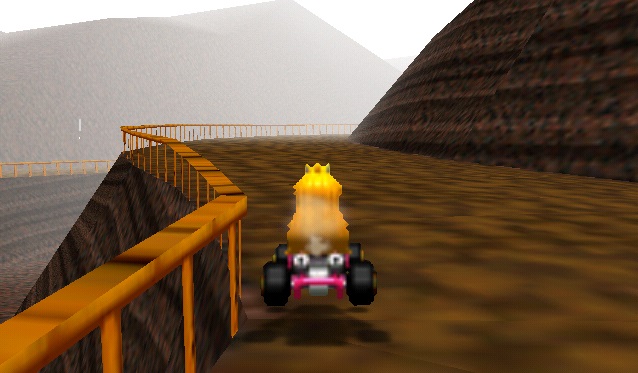 Shroom shroom shroom!! (Once will do) This leads into the 2nd to last corner. The MT here must be done quickly whether you've shroomed before it or just SSMT'd. There's not much to it, just don't veer too wide, and release the boost pointing at the right side of the final corner. This last section can be frustrating, and it's also the final possible shroomspot position. In total, CM has 5 possibilities, and I've even heard of some people shrooming on the chocolate boulder turn. We don't talk to those people though. The way most people take this final corner is to MT around it, and then drive straight over the two hills before the finish line. The problem with the hills is that sometimes you bounce badly off the 2nd one, and sometimes you land in a perfect groove. The key to getting as good a passage as possible seems to be to get a clean early MT before it, and be driving relatively straight, and to not adjust your kart at all. After the hills, you can either prepare to jump into a shroomslide at the finish line, or alternatively jump into a normal MT slide for the first corner. If you're on lap 3, or on a fastest lap attempt, there is some evidence to suggest that jumping off the final hill gets you to the line slightly quicker. The alternative to the above ending, is to use a shroom here. The way to perform the shroom is to jump into a slide just before the final corner, and try to point slightly to the left of center (with respect to the final straight), and fire a shroom so that you end up shroomsliding over the final hills. The upside to this is that you don't have to worry about getting bad bounces. The down side is that the margin for error is quite small. Ideally you want to end up slightly left of center when you land, so that you can complete the MT without hitting any walls. You can then ride the MT speed into the next lap, and do a normal MT around the first corner. The gain with this shroomspot is not only on the lap you start it, but on the following lap too. I'm the only one currently using this spot though. That's the mountain. It's creepy. It's foggy. It's dull. It has shroomspots coming out of its ears. Drive safely! 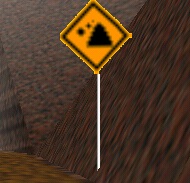 Chocolate Surprise Ahead! |