My favourite season is Fall. It doesn't have the horribly over-powering heat of summer, and it hasn't yet descended into the icy depths of winterous hell.
That nice in-between feeling of a mildly cool breeze, as you watch the colour of the leaves change on the trees is just perfect. So
you can imagine that Sherbet Land isn't exactly the cosiest place for me to spend my time. On the plus side, it has a bunch of cute penguins to keep you
company, so it's not all bad. And it's nowhere near as creepy as Frappe Snowland, with the back-from-the-dead snowmen, and ever-watching Ice Statues.
Another plus, is that there are no annoying bounces (YV/BB/FS), no uneven ground issues (MMF/DKJP/FS) and no Tra(i)ns (WS/RRd/KD). So all in all, it's a nice
place to drive, except for the cracks and the cave shroom of dicey death.
 Bright, Icy, and full of Possibilities (for falling in the water) First up on this track we're faced with quick turn. It's not quite in the realms of needing an AB twist start, but it's close! You must immediately turn to the right upon starting, and then shortly after immediately (also known as very soon after), you have to hop into a left-facing MT slide. Release this MT just before the corner to the left, and hop over a small part of the gap. If you do this right, you won't end up an icy mess of pixels, languishing about in your water temple of solitude. Unfortunately you will do this wrong many times, but mostly it will be on lap 3, so you have that to look forward to. Keep this joyful thought in your heart as you proceed on your frosty journey. 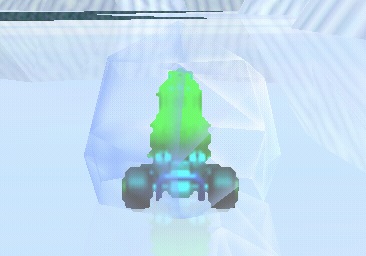 The Water Temple of Solitude You have to glide for a minute after landing, and by a minute I mean a second. Sometimes I like to mix up times like that just to keep you on your toes. If you actually travelled with the glide for a minute, you'd spend most of it banging uncontrollably up against the ice cliff and wondering what you were doing with your life. Whilst there are worse life-choices you can make, I can't really recommend this one. So try to keep that glide at just a second or less, but do glide at least a little bit. It's very tempting to land from the hop into a slide/MT, but don't do that. After the glide, then you can hop into a left-facing slide/SSMT. You want to aim the release of this so that you're aiming just barely over the right edge of the crack in the road (although you don't always get what you want). A lot of the time you'll probably have to hop over this gap. 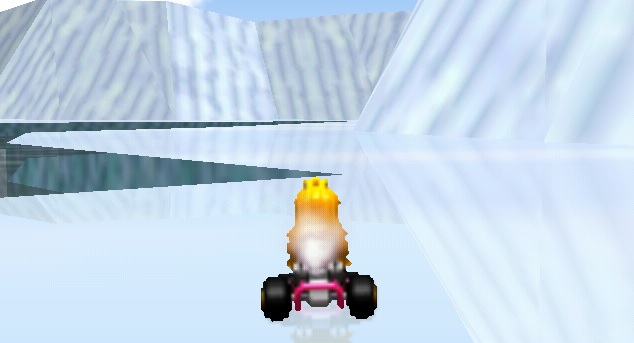 This much, and no mucher Then comes the first real test of trickiness. The ice gap of terror. There used to be a sign warning people of this terrible ice gap, but someone drove over it and sent it into the depths below. The key to jumping this gap is to quite literally take a running jump at it. You should work up a left-facing SSMT, release it, and then at the point of maximum glide/speed jump over exactly the perfect amount of gap to just barely land on the other side. Doing all this takes a heck of a lot of practice, and many glorious ice-baths. When you hit it right though, it's a really satisfying feeling. When going for a fastest lap, which should be done on lap 2 or 3, you can use your first shroom here to cut an even bigger portion of the gap. The same principle applies. Just jump when you're at maximum velocity..and obviously right at the edge.  Don't forget to jump Depending on your angle upon landing, you may need to instantly hop to the left to align yourself better for the straight ahead. Although it's pretty much a straight line, this area doesn't particularly feel like one. The first order of business though, is to get a quick MT. Do it straight after the alignment hopping. Although every MT from here to the cave is actually an SSMT, I'm just going to refer to them as MTs. Some of the cracks that block your way from here to the cave lend themselves to a natural MTing rhythm. There's a giant rock to the right-hand side. It offers you the chance to go to the right of it, but very few have ever gone that way and lived to tell the tale. A penguin troll lives there, and he's not very friendly. He's called Trevor, and he doesn't like visitors. Also, he's invisible. Whilst you're thinking about this, get another MT. 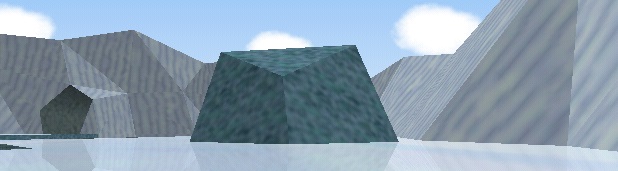 This was actually just added for decoration. Merry Christmas! At this point, you should be nearing the water on the left. The next few MTs should be taken so that you stay as much to the left as you dare, without taking any vertically downwards routes. Two penguins up ahead will be sliding back and forth. Depending on the lap and your speed, you may need to take drastic avoiding action to drastically avoid one or both of these. The best strategy is to aim to pass to the left of them, but be ready to go in-between them if necessary. I don't need to tell you how to race here. Just use your eyes. If you're into mid-lap checkpoints, the line at the cave entrance is perfect for that. 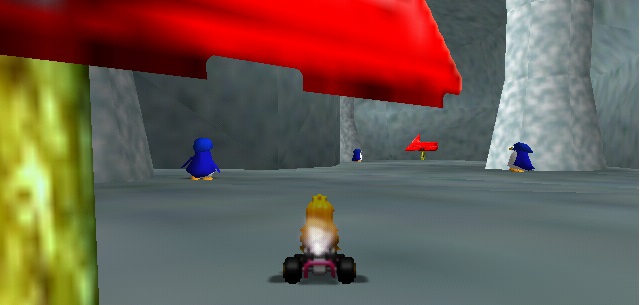 Cave full of penguins. If you find yourself by this sign, you've strayed off the racing line As you enter the cave, the right-facing MT you perform just after that may feel a little weird after all the left-facing ones you've been doing prior to this, and because the path starts to go downward a little, your timing may need to be adjusted for the change in elevation. The MT to the right just after this though, is much easier to hit. The cave is quite large, and host to a number of penguins circling pillars. Only two of these will cause you problems, and only one will always do so. That's the guy you're about to meet now. After you release your MT around the corner and have glided a little, you should immediately jump into a left-facing slideshroom. It's shortly after this that you will spot the position of the penguin. Whilst the ideal line on all 3 laps is to go to the left of this penguin, on lap 1 and lap 3 this can be very tricky indeed. A safer line is to aim between the penguin and the pillar it's circling. This line also makes staying tight with your shroom around the bend easier. No matter how good you get at the game, there are some positions of the penguin where he's almost impossible to avoid, and you just need to make sure to arrive a little earlier the next time you play the track. 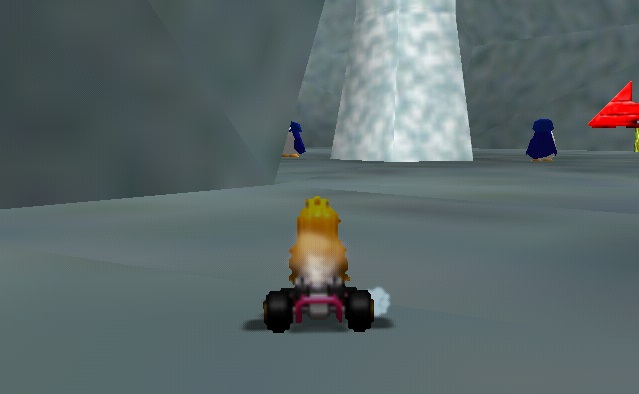 The gap you can see is easier than the gap not yet seen! If all has gone well with the penguin, you should be hugging the corner tight with your shroom, ready to release it at the perfect time to drive straight for the next corner. If things have gone slightly wrong, you may be going a little wide. It's at this point that you have to worry about the last penguin in this cave. He's more than happy to bump into you and ruin your race. The difference with this guy is that it's always within your power to avoid him to the left. He's usually more difficult to avoid in multiplayer modes, or when you're taking the corner without a shroom. The next corner is pretty easy. It leads to the exit and freedom. A quick MT, followed by a very short glide, followed by a quick SSMT, followed by an exit MT around the corner to the right is the best way to navigate this section. This is also an option for your 3rd shroom. Perform the first quick MT as usual, and then use the shroom to replace the SSMT and complete the move by releasing the MT at the cave exit. It can be easy to hit into the walls here though, especially on the exit MT. The good news after you've done this is that you can almost taste the finish line. The bad news is that the finish line doesn't taste very nice, and they've put some penguins in the way to mess with you. They've also saved the most annoying ice-crack for last. 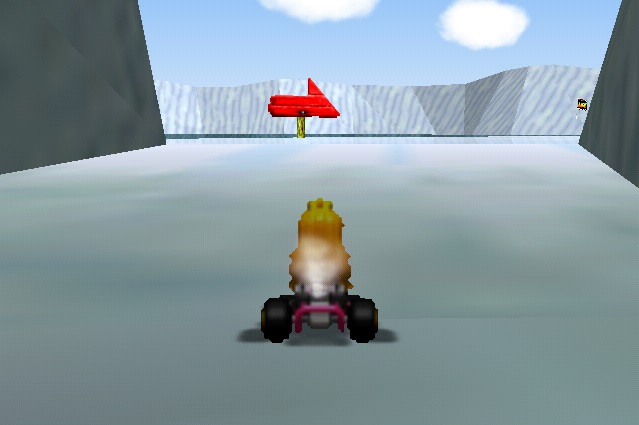 Just in case you wanted to turn left First things first, perform a right-facing ssmt at around the mid-point of this stretch. Use the rock on the right jutting out as a good indication of where to do it. After this you have another couple of sliding penguins. On lap 1 they will probably be right on your racing line, so you need to navigate around them to the right with an MT. On any laps where they're sliding away from the racing line, you can take full advantage of their absence by jumping over the gap with an MT and falling into the water. This last corner is not very easy to jump. The best line is to come in from right to left (instead of tackling it straight on), and not try to take too much of a risk with the jump. This is option 2 for your final shroom on a fast lap attempt. You can cut more of the corner, but not as much as you might think. The last thing to do is a simple enough SSMT between the last corner and the finish line. 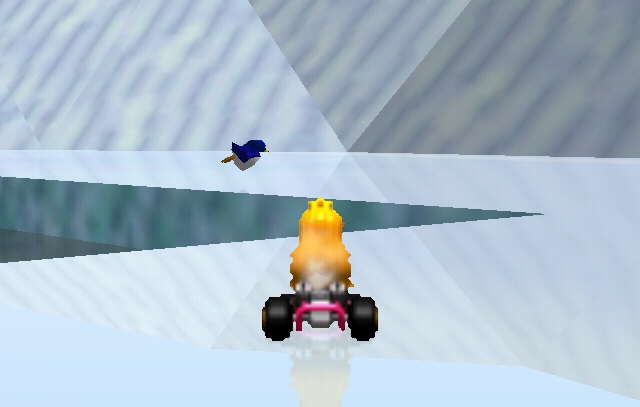 Don't try to cut too much of this corner The most difficult part of this track, apart from all the jumping, is to adjust your line depending on the positions of all the different penguins. Thankfully the biggest penguin doesn't leave her own little island. Stop and say hi sometime. 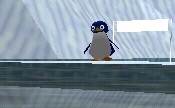 Hello Mama Penguin! :) |